
How to Install a Toilet Flange That Never Leaks
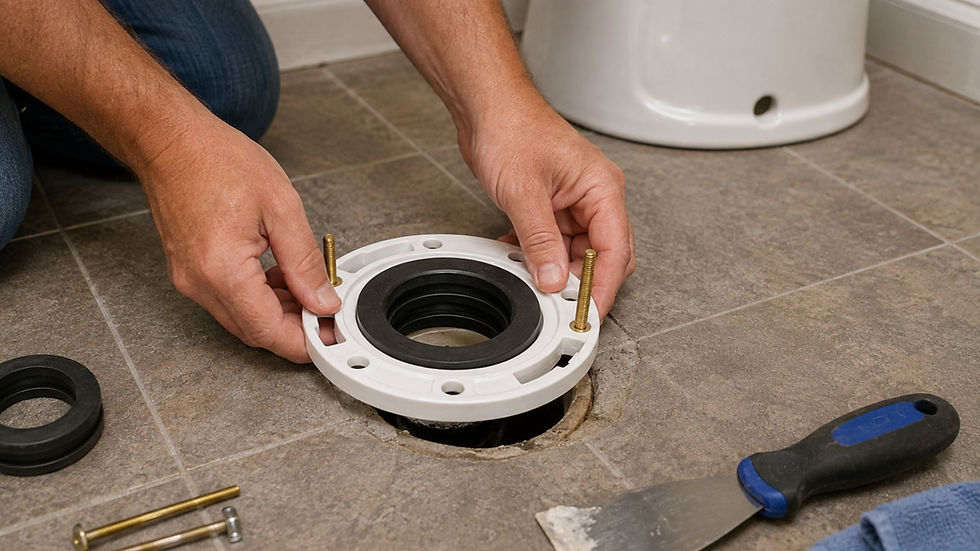
A leaking toilet base is one of those plumbing problems that starts small and quietly gets worse. In most cases, the culprit is a poorly installed or deteriorated closet flange - the fitting that connects your toilet to the drainpipe beneath the floor. Getting this right the first time saves you from water damage, mold, and a lot of frustration down the road.
What Is a Toilet Flange and Why Does It Matter?
The closet flange is a plumbing fitting that sits flush with your bathroom floor and anchors the toilet in place. It creates a sealed connection between the toilet and the drain pipe below, usually with help from a wax ring or modern rubber gasket. Without a properly secured flange, you will get sewer gas leaks, rocking movement, or water pooling at the base.
Flanges are made from several materials. PVC (polyvinyl chloride) is the most common choice today, but you will also find cast iron, brass, and stainless steel versions depending on the age and type of your plumbing system.
Tools and Materials You Will Need
Before you start, gather everything so you are not running to the hardware store mid-project.
New closet flange (PVC, cast iron, or stainless steel depending on your pipe)
Wax ring or natural rubber gasket
Toilet bolts and a screwdriver or drill
Closet flange screws or bolts rated for your floor material
PVC primer and cement (if connecting to PVC pipe)
A putty knife, bucket, and old towels
Step-by-Step: How to Install a Toilet Flange
Step 1 - Remove the Old Flange
Turn off the water supply and flush the toilet to empty the tank. Disconnect the supply line, then lift the toilet off the floor and set it aside. Scrape away the old wax ring using a putty knife and inspect the existing flange for cracks or corrosion.
Step 2 - Prepare the Pipe Opening
If you are working with a concrete slab, you may need a hammer drill to make room for the new flange. For wood subfloors, check that the surrounding area is dry and solid. The top of the flange should sit level with - or slightly above - the finished floor surface.
Step 3 - Set and Secure the New Flange
For PVC pipe, apply primer and cement to both the pipe and the inside of the new closet flange, then press and twist to create a firm bond. For cast iron systems, a lead-and-oakum joint or a mechanical connector may be needed. Secure the flange to the floor using the appropriate screws - stainless steel screws work well in humid bathroom environments.
Step 4 - Install the Wax Ring and Reset the Toilet
Press a new wax ring onto the bottom of the toilet horn or set it over the flange opening. Carefully lower the toilet straight down onto the flange bolts, pressing firmly to compress the wax. Hand-tighten the nuts, alternating sides, then snug them up with a wrench - do not overtighten or you risk cracking the porcelain.
Common Mistakes That Lead to Leaks
Rushing the wax ring placement is the number one cause of leaks after a DIY installation. Resources like This Old House and renovation channels on YouTube demonstrate proper technique, but nothing replaces careful hands-on attention.
If the flange sits too low - a common issue during a bathroom renovation or flooring upgrade - use a flange extender to bring it back to the right height before adding the wax ring.
Finish Your Toilet Flange Installation Without Leaks
Installing a toilet flange correctly takes patience, the right materials, and attention to detail. When it is done right, it holds firm for years without a drip. If you are unsure about your pipe material, dealing with a cracked floor flange on a concrete slab, or simply want the job done with a workmanship guarantee behind it, the team at Twenty Four Hour Plumbing is ready to help.
Call us at 615-785-3827 to schedule your plumbing fixtures installation today.


Comments